Take 4 at this post... Firstly: Apologies for the posts not being enlargeable... hopefully they make sense!
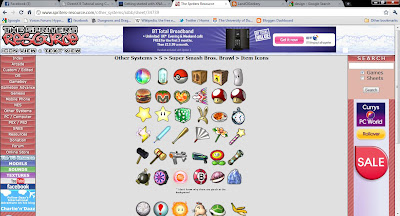
Adding sprites to the game can be a lengthly process - especially if you are making your own. A number of free sprite libraries can be found on the internet, for this game I have been using: http://www.spriters-resource.com/ as the foundation for a number of my pre-made sprites.
This guide will hopefully serve as a reminder for me, and guide for anyone out there who has no experience in this activity on how to put a sprite into your game view.
Step 1: Grab a sprite sheet from the resource centre (if m aking your own, skip this step.)
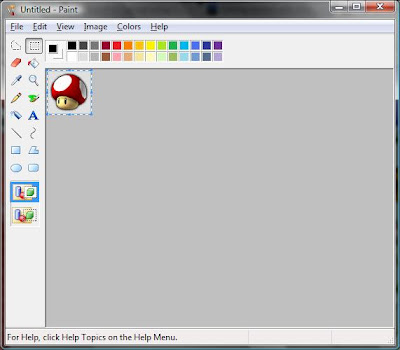
Step 2: Cut the sprite you wish to use out and paste it into paint (or other editing software) and size your sprite to the number of pixels you wish for it to take up on the screen (for me this was 50x50 pixels.)
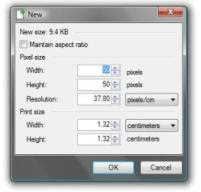
Step 3: For me - I used MS paint to cut and organise my sprite images - and Paint.Net to layer them into an image I wish to use. Opening Paint.Net, I created a new document with the area 50x50 pixels.
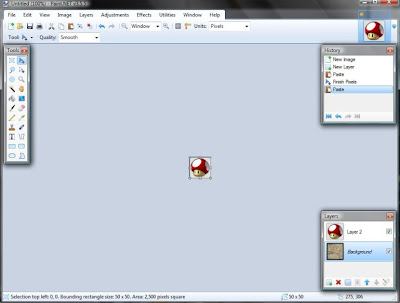
Step 4: A new layer is created, and the sprite is copied accross from MS paint onto this layer.
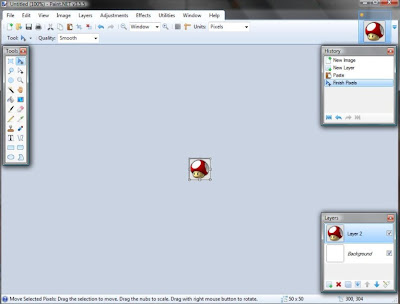
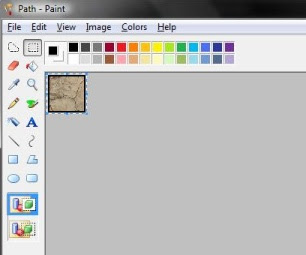
Step 5: If like me, you wish to have a background that the sprite will be sitting on - select and copy the background (Here is a "path" sprite I made earlier that is used for all passable floor tiles in the game.)
Step 6: Paste the background onto the background layer.
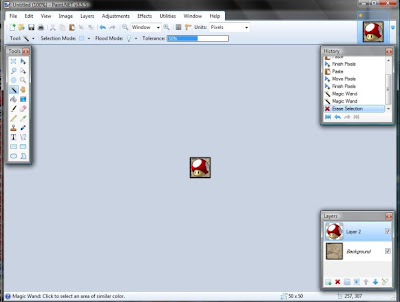
Step 7: Using the wand tool - I selected the plain backdrop that surrounded my sprite and hit delete. This removes the area covered by this colour and you can see the background beneath showing through.
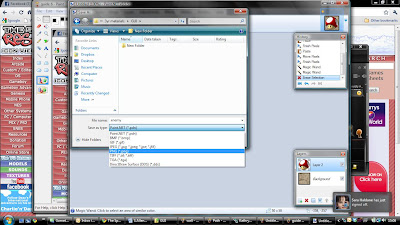
Step 8: Save the image as a PNG file.
Step 9: Within Visual Studio - on solution explorer, right click on "content" and "add existing" - then select the file you just saved, and it will add it to the solution explorer window. It can now be used within Visual Studio.
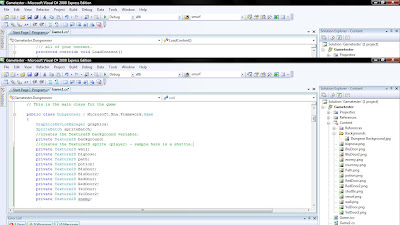
Instantiate the sprite in the main class using the command "private Texture2D file;"
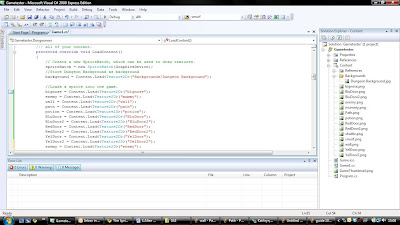
Step 10: In the LoadContent() method load the sprite into the game with the command "file = Content.Load("file"); "
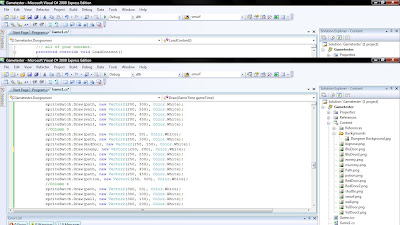
Step 11: You can now load the sprite onto the game screen using coordinates to identify the area it will be found on the screen.
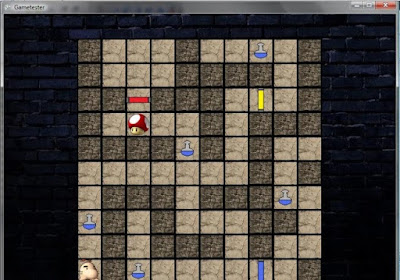
Step 12: Test it worked with a debug. As you can see here - the mushroom appears where I selected. The sprite has no AI or methods - these can be added later. For the moment I am simply building up what I want the game to look like by setting up the sprites. I plan a much more efficient method of displaying content to screen than printing the coordinates of every single sprite to screen (there IS 100 of them... and this is just a 10x10 game board.)
No comments:
Post a Comment